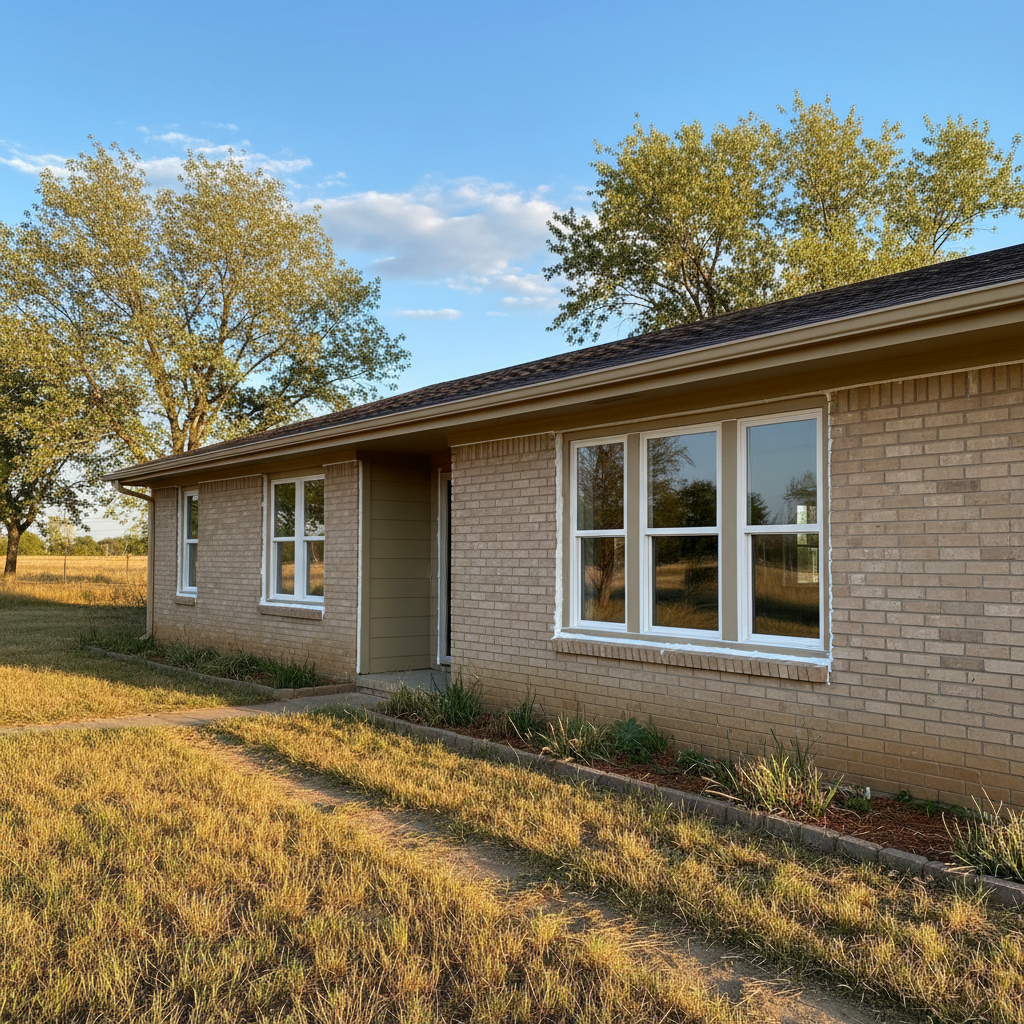
You've probably felt it — that cold whisper of air sneaking in around your windows, even when they're shut tight. Or maybe you've noticed your AC working overtime in the summer, really struggling to keep things cool. That's often a dead giveaway that your window seals are shot, and guess what? It's costing you money. Getting your windows properly caulked and sealed isn't just about feeling comfortable; it's about protecting your home and, frankly, your wallet.
When's the Best Time for Caulking and Sealing?
Timing is pretty crucial for this kind of work. You can't just slap caulk on when it's freezing outside and expect it to stick or cure correctly. Most sealants need a specific temperature range to apply and set up properly. Here in Dodge City, that usually means you're looking at spring or fall. The sweet spot is typically between 40 and 90 degrees Fahrenheit. If it's too cold, the caulk won't grab on well and can crack. Too hot, and it might skin over too fast, trapping air bubbles or just not bonding right. What a pain, right?
We've done plenty of jobs where folks waited until the first big cold snap, and then it's a mad dash. Planning ahead for those mild spring days or cooler fall weeks means the materials will perform their absolute best and last longer. You want the caulk to have a good 24 to 72 hours to cure without extreme temperature swings or heavy rain.
What to Expect During the Project
So, you've decided to tackle those drafts. What does the actual process look like? Well, it's more than just squirting a bead of caulk around the frame. A good job always starts with prep.
- Inspection: First off, a pro will walk around your house, checking window by window. They'll look for any existing caulk that's cracked, missing, or pulling away. They'll also check for gaps in the siding around the window frames, or spots where water might be getting in.
- Surface Prep: This step is super important. Any old, failing caulk has to go. The surfaces need to be clean, dry, and free of loose paint, dirt, or debris. Sometimes, this means scraping, brushing, and even a bit of cleaning. If the surface isn't prepped right, the new caulk won't stick, and you'll be right back where you started in a year or two.
- Application: This is where the new sealant goes on. A skilled hand makes a huge difference here. You want a consistent, smooth bead that completely fills the gap without being overly messy. Different types of caulk get used for different jobs – some for outside, some for inside, some for specific materials.
- Tooling: After it's applied, the caulk often gets 'tooled' or smoothed out. This makes sure it adheres well, creates a nice, clean line, and helps push the sealant deep into the joint for a better seal.
- Cleanup: A good contractor cleans up their mess. Period. No globs of caulk left on your siding or windows.
For most homes, depending on how many windows you have and the condition of the old caulk, this can be a one-to-two-day job. It's not usually a long, drawn-out affair, but it is detailed work.
How to Prepare Your Home
You can really help things go smoothly and quickly for the crew. Here's what I recommend:
- Clear the Area: Move any outdoor furniture, planters, or decorations away from the exterior walls, especially around the windows. This just gives the crew easy access.
- Trim Landscaping: If you've got bushes or trees right up against the house, give them a good trim back. We need room to get ladders up and work safely.
- Secure Pets: Keep your pets indoors and away from the work areas. This is for their safety and to keep them from getting in the way.
- Inform About Obstacles: Let the contractor know about anything unusual, like sprinklers close to the house, delicate plants, or anything else that might need extra care.
- Interior Access (if needed): While most caulking happens outside, sometimes interior sealing is part of the job. If so, make sure pathways to windows are clear inside.
Doing these little things ahead of time really helps us hit the ground running and finish your project efficiently.
Questions to Ask Before You Sign
Before you commit to a contractor, you need to be sure you're getting a good deal and a quality job. Don't be afraid to ask questions. Any reputable company, like Western Window Installation Company, will be happy to answer them.
- What type of sealant do you use, and why? There are many types: silicone, acrylic latex, polyurethane. Each has its good points and bad points regarding flexibility, durability, and paintability. You want something that will stand up to our Kansas weather – the hot summers and those brutal winter winds that whip across the plains.
- How do you prepare the surfaces? As I mentioned, prep is key. Make sure they aren't just going to caulk over old, failing material.
- What's your warranty on the work and materials? A good contractor stands behind their work. Understand what's covered if the caulk fails too soon.
- Are you licensed and insured? This is a must-have. You want to make sure they're legitimate and that you're protected if something goes wrong.
- Can you provide references? Hearing from past customers can give you a lot of confidence.
- What's the estimated timeline for the project? Get a clear idea of when they can start and how long they expect it to take.
- What's included in the quote? Make sure there are no hidden fees. Does it include material, labor, and cleanup?
Getting your windows properly sealed isn't just a quick fix; it's an investment in your home's comfort and energy efficiency. Take the time to plan it right, ask the tough questions, and you'll enjoy a cozier home for years to come.